
1 – Tracing the swimming pool
check that nothing crosses the ground, place stakes, stretch strings, measure the diagonals to determine the angles and define the zero point, the level of the swimming pool which serves as a benchmark for the earthworks. A margin of one meter must be provided around the basin for the earthworks.
2 – Earthworks, start of construction
It is used to delimit the location and depth of the swimming pool and to trace the paths that will connect it to the technical room. The earthmoving technique depends on the composition of the soil. If it’s rocky, you’ll need a rock breaker to get the dirt out. Be careful to keep some for backfilling. Note that the bottom must be stabilized after the earthworks with a concrete slab.
- Swimming pool less than 10 m2: no formalities.
- Swimming pool between 10 and 99 m2: a declaration of work is mandatory.
- Swimming pool of more than 100 m2: a building permit is necessary.
3 – Drainage
The drain around the swimming pool diverts the arrivals of water which can exert a pressure on the swimming pool. A water table, clay or sloping soil make drainage essential . The drainage is connected to the water disposal system. It is possible to set up a decompression well to pump the water.
4 – The structure of the swimming pool
For a concrete swimming pool, different techniques are possible: poured, sprayed, reinforced concrete, formwork… Some design panels to be fixed together, but it is also possible to install a polyester shell . It is necessary to think about the parts to be sealed: skimmers and discharge nozzles are essential for the circulation of water. As an option, there are the lights, the broom socket and other accessories.
5 – Pipes
At the same time, the technical room must be equipped with a filtration system. The circuit of pipes must be prepared and connected before assembling the pipes. Please note that a PVC pipe and a polyethylene pipe are incompatible. Equipment works better if water has less distance to travel through the pipes.
One pipe per part to be sealed – one pipe for each return nozzle, for example – is recommended. In fact, in the event of a leak, it can be isolated and the pool used.
6 – Backfilling
It is better to check that each element is in place: the drainage, the pipes, the parts to be sealed, etc. before using the earth removed during the earthwork.
7 – Coating
If the structure is waterproof, the coating can be decorative: plaster, paint or tiling. Otherwise, the coating must provide watertightness with liner or reinforced PVC membrane, cut to the dimensions of the pool.
8 – Filling the basin with water
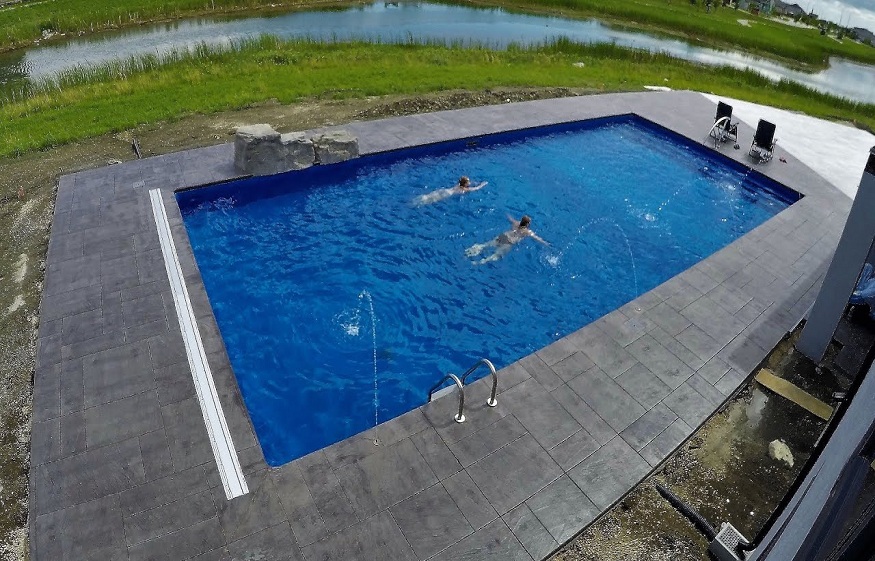
The impoundment can take several days. In the meantime, check the position of the liner. Then, you have to think about the copings, the finishes and the fittings around the pool.